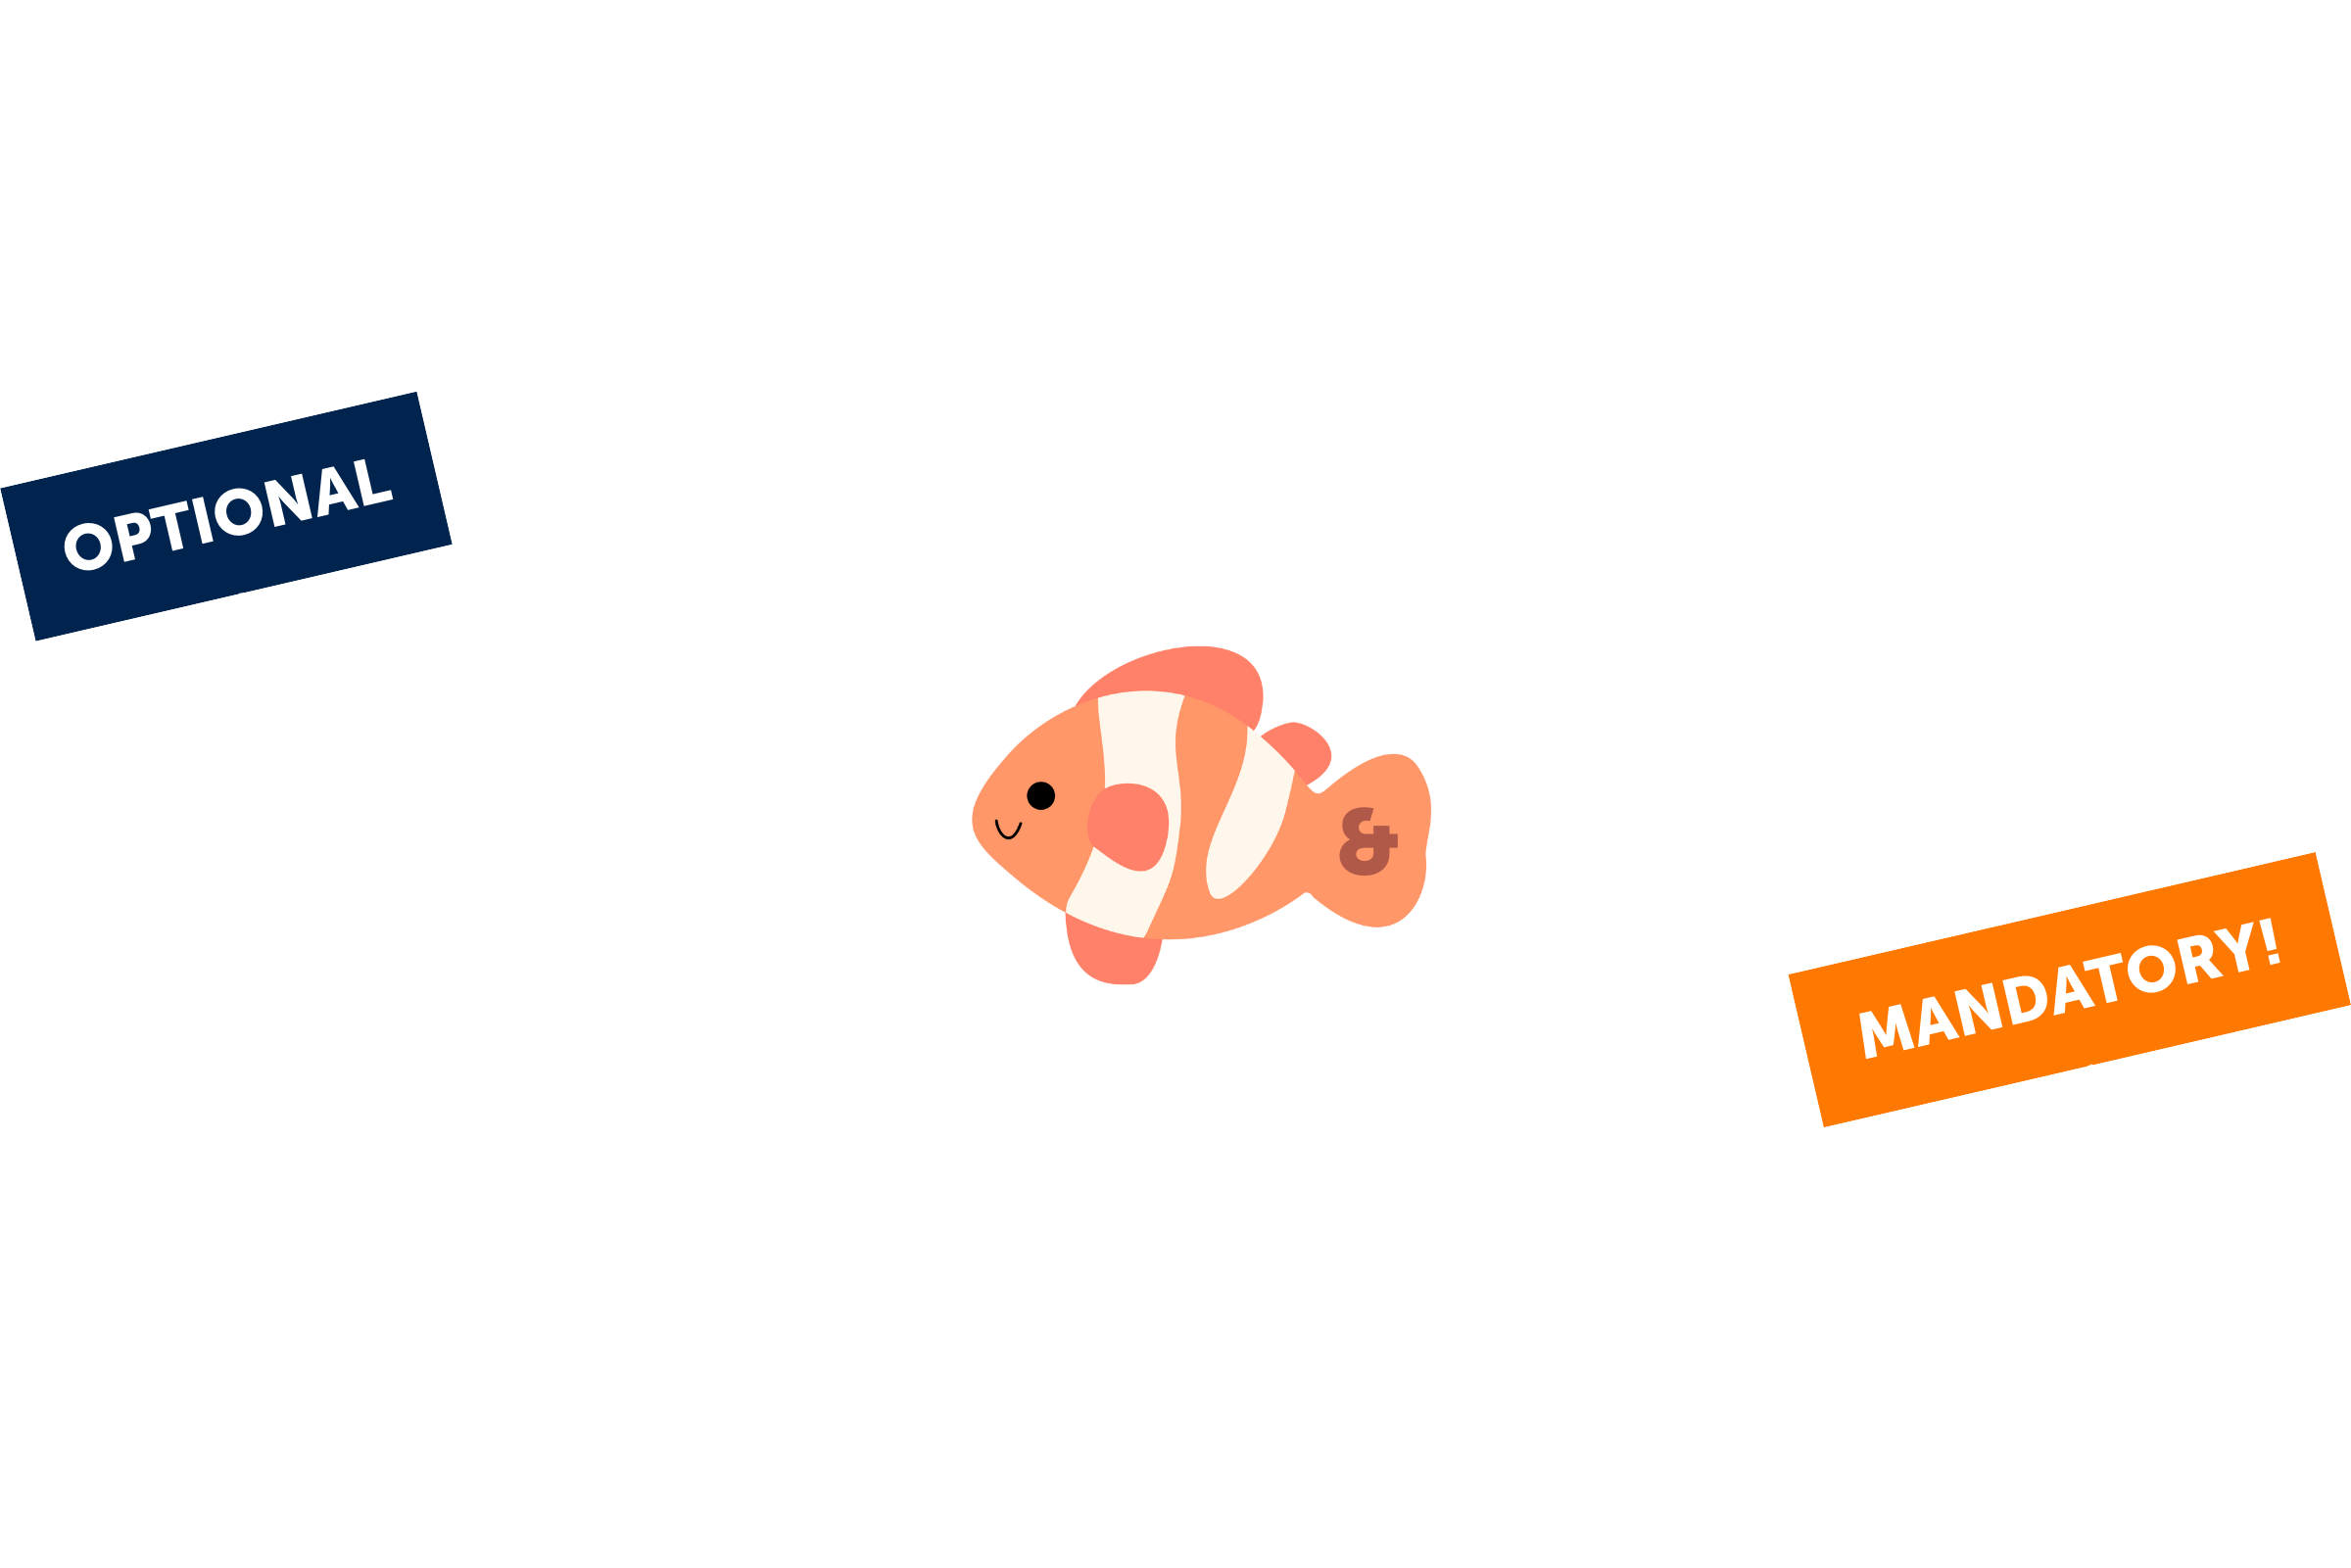
Roommate Selection (Optional)
Once you recieve an offer email to your Cal State Fullerton email, you can view suggested roommates or request specific roommates.
You will be able to see roommate options that match your room type based on:
- Gender and classification
- Theme community (if applicable)
- Gender Inclusive Housing (if opted in)
Please be aware that roommate groups may be adjusted if no unit with multiple open bedspaces is available. During room selection, you will have the option to split up your roommate pairing, and everyone in the group will be notified of changes made.
How to Create a Roommate Group & Request Roommates
- Log in to the Housing Portal Click "2026-2027 Academic Year Housing Application"
- Click "Open", Select "Create Group" Enter a Roommate Group Name (avoid emojis in group names)
- Click "Save Group"
- On the "Roommate Requests" page:
- To search for a specific roommate: Select "Search for a Specific Roommate by Portal Username"
- To see suggestions: Select "Suggested Roommates"
- Once you find a roommate, click "Add to Group" (you may only request one roommate at a time)
- Your roommate must accept the request in their Housing Portal to be paired with you
- Then you are able to Message your potential roommate within the portal
How to Accept a Roommate Request
- Log in to the Housing Portal Click "2026-2027 Academic Year Housing Application"
- Click "Open" Select "Accept Request"
- On the "Roommate Requests" page,
- You are able to message your potential roommate within the portal
You can only match with roommates who share the same category, which includes gender, living community, and theme living community if applicable. To confirm compatibility with another roommate, compare the original room selection emails you both received.
Room Selection (Mandatory)
During your timeslot, you will have a 2-hour window to log in and select your space for the 2026-2027 Academic Year. You will choose from available bed spaces based on room type recieved in your offer. If you’ve formed a roommate group, one member can select for the entire group.
Room Selection Instructions
Before Your Timeslot: When your timeslot opens, you’ll be able to access the room selection page through the Housing Portal.
Important: You MUST reopen the application portal for it to update properly. Simply refreshing the page will not work.
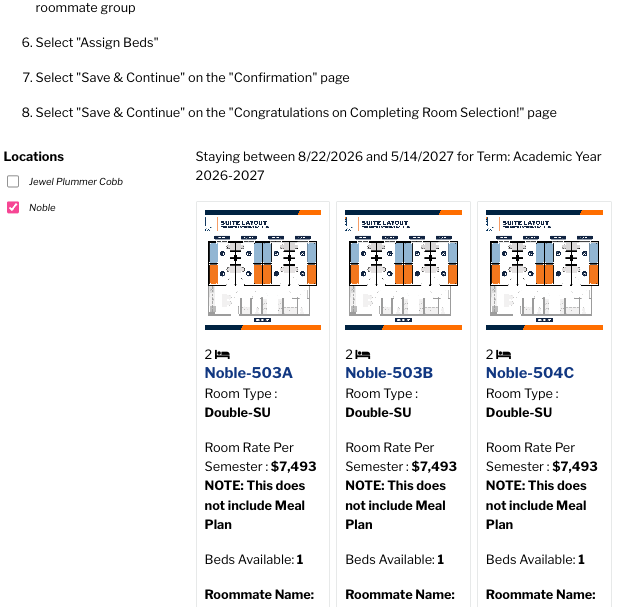
How to Select a Bedspace
- Log in to the Housing Portal during your assigned timeslot
- On the "Room List" page, click "Add to Cart" for your preferred bedspace
- If you're in a roommate group, add all group members' bedspaces
- Ensure all beds are in the same room
- If there is not enough bedspaces, you will have to split the group
- Click "Save & Continue"
- Under your Portal Username, Select your preferred bed
- Repeat for other group members
- Click "Assign Beds"
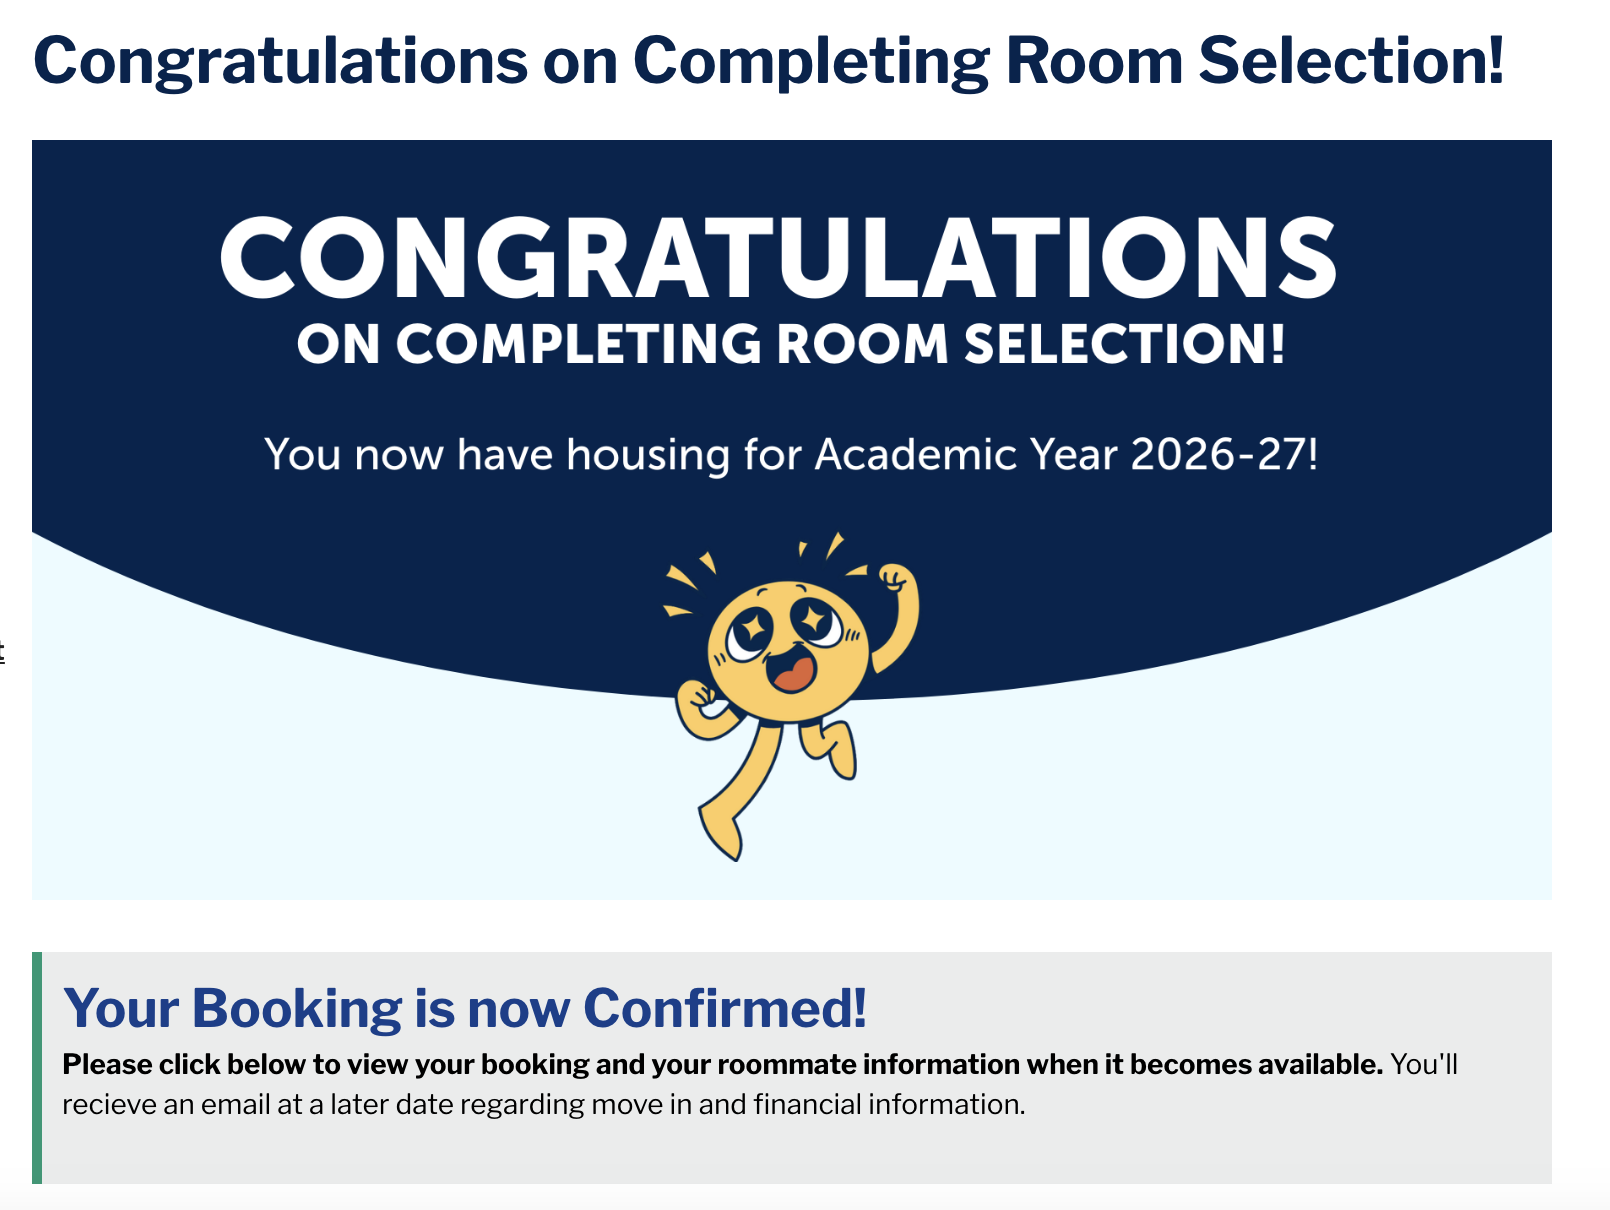
- On the Confirmation page, click "Save & Continue"
- On the final "Congratulations" page, click "Save & Continue"
You must complete all steps to secure your bedspace.
Roommate Group Sizes
Roommate groups are limited to 2 people for continuing students and 3 people for first time first years.