Creating Hours
The hours widget editor helps create hours for your website. You can also create multiple sub hours if your area has various desks or service points that have different operational times than your normal business hours.
Each image below is linked to a larger preview.
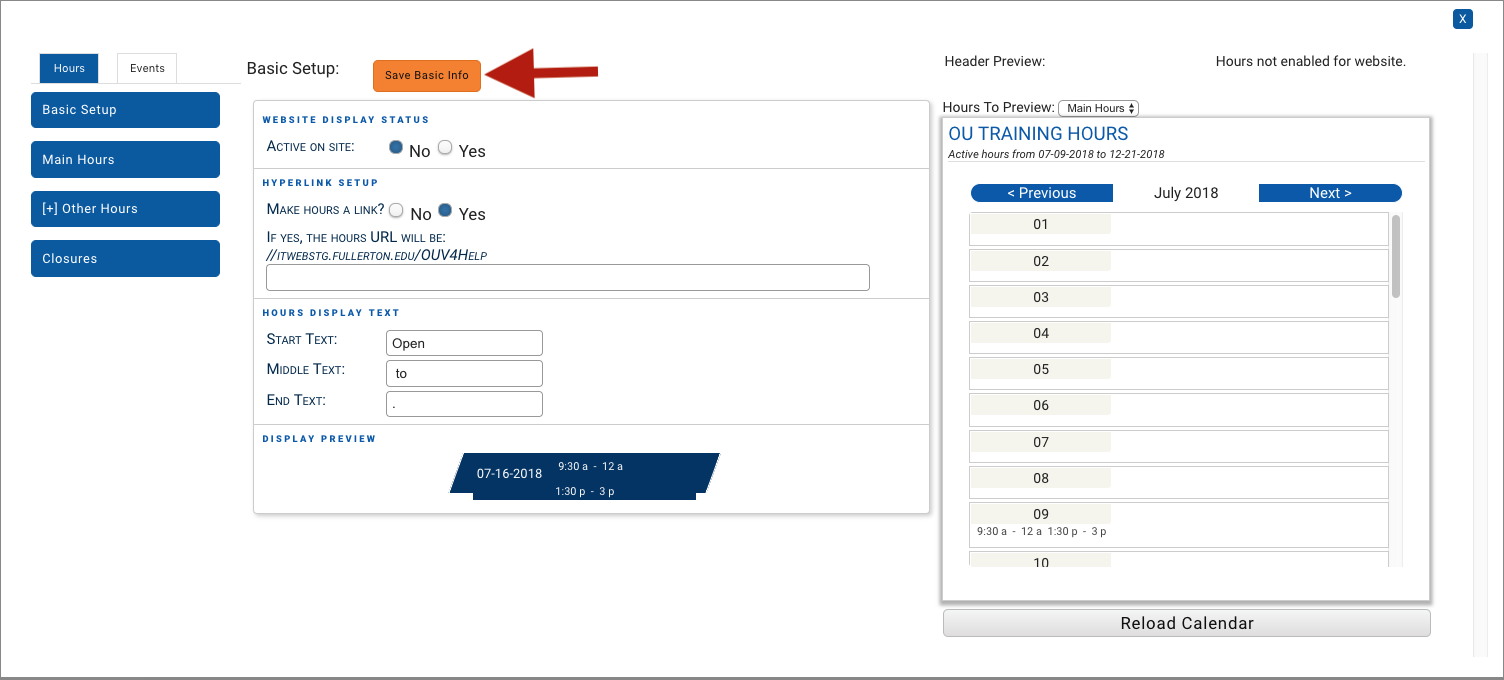
The basic setup allows you to turn your main hours on in your header, and to customize how your hours are displayed.
Please note the orange save button. That button will appear every time you make a change during every step of setup. Make sure you press the save button during each step to save your changes as you go.
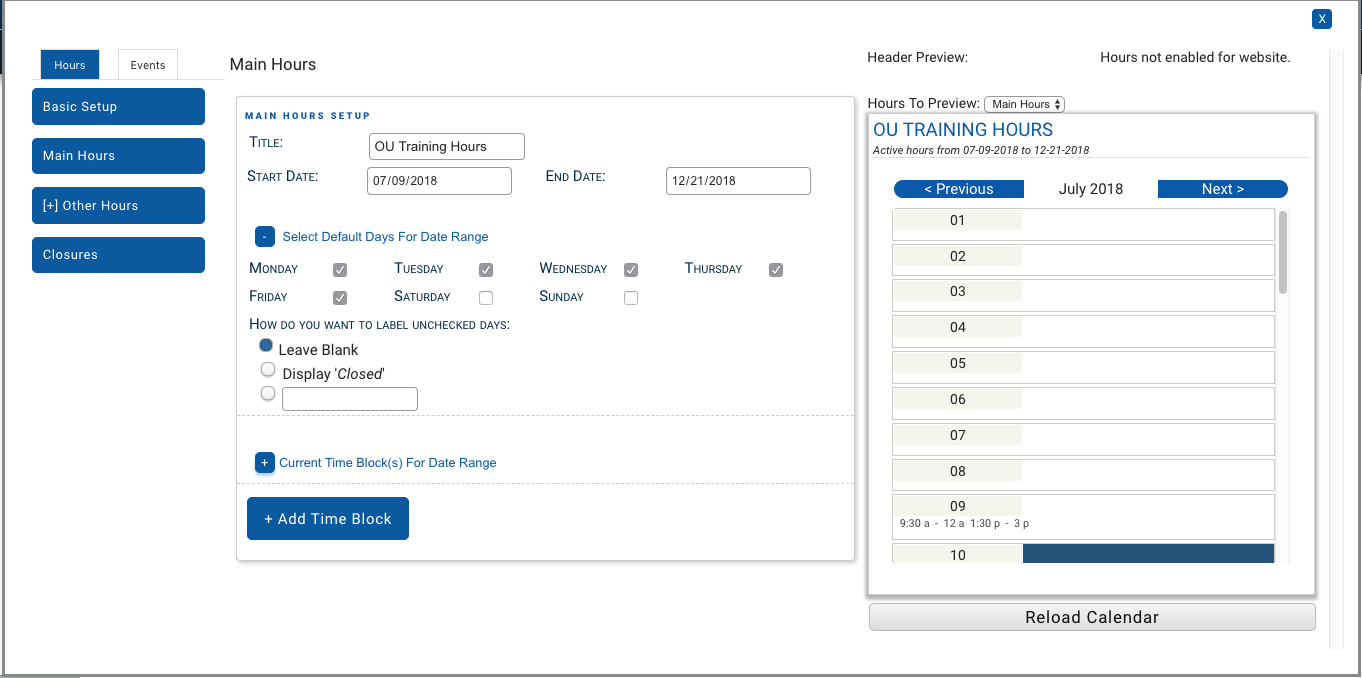
Main hours is your basic hours setup. Select a start and end date for your hours and your base days for these hours. Don't worry if your main hours are different on different days. You can fine tune that in a later step.
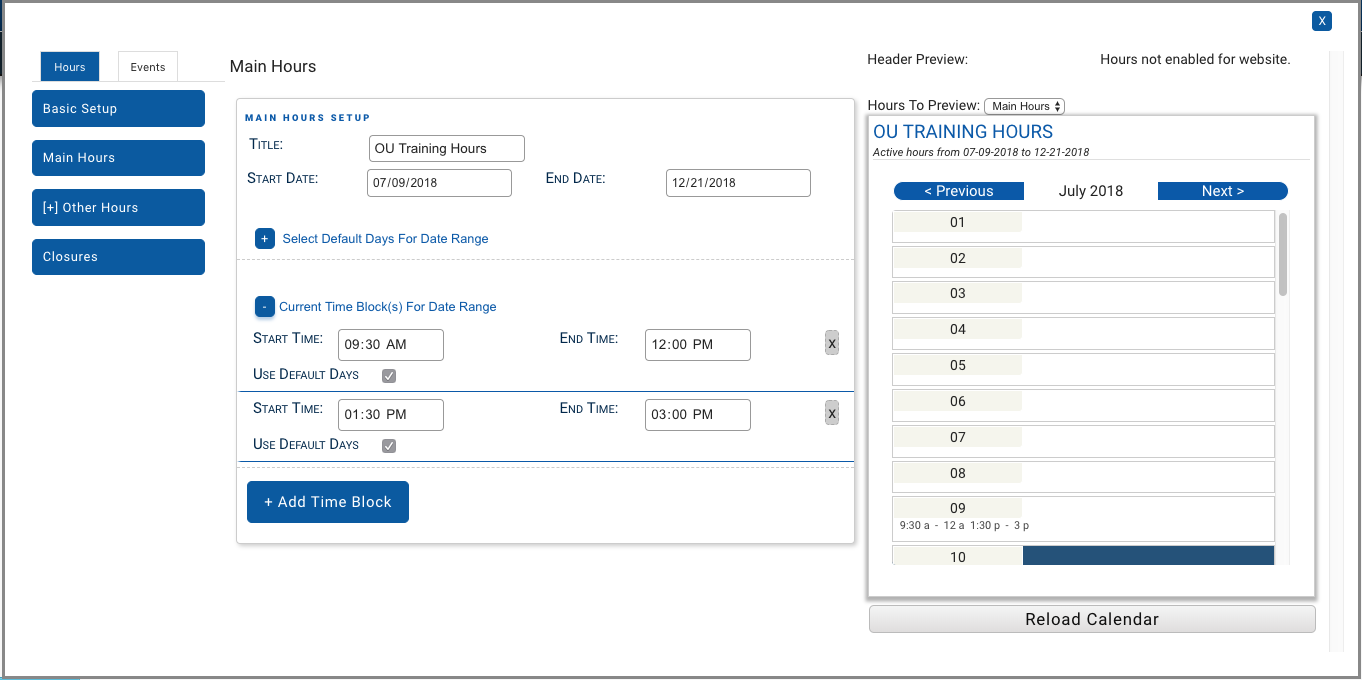
Set your start and end hours here. You can also add more time blocks. These time blocks can be used for split hours, or to set different hours for different days.
Example: You may closed every day between 12 and 1pm for lunch, or you could have different hours for different days of the week.
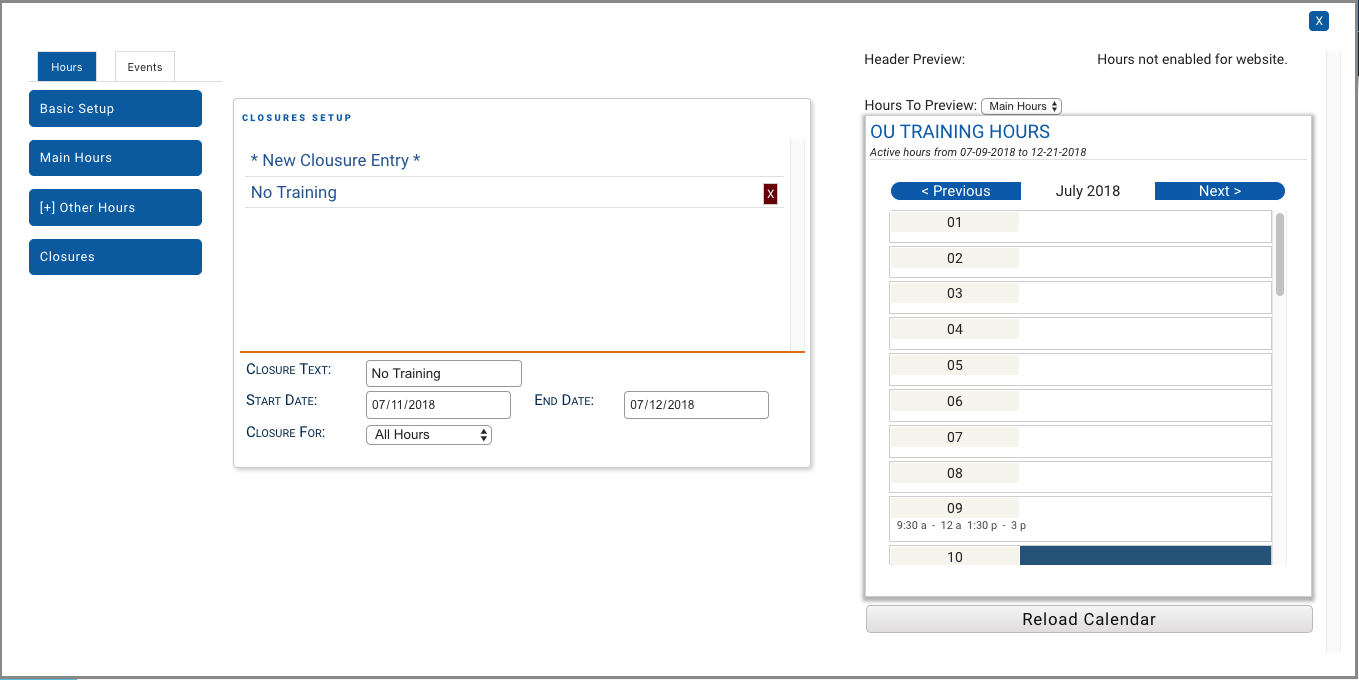
The closures section is used for setting holiday or vacation closures.
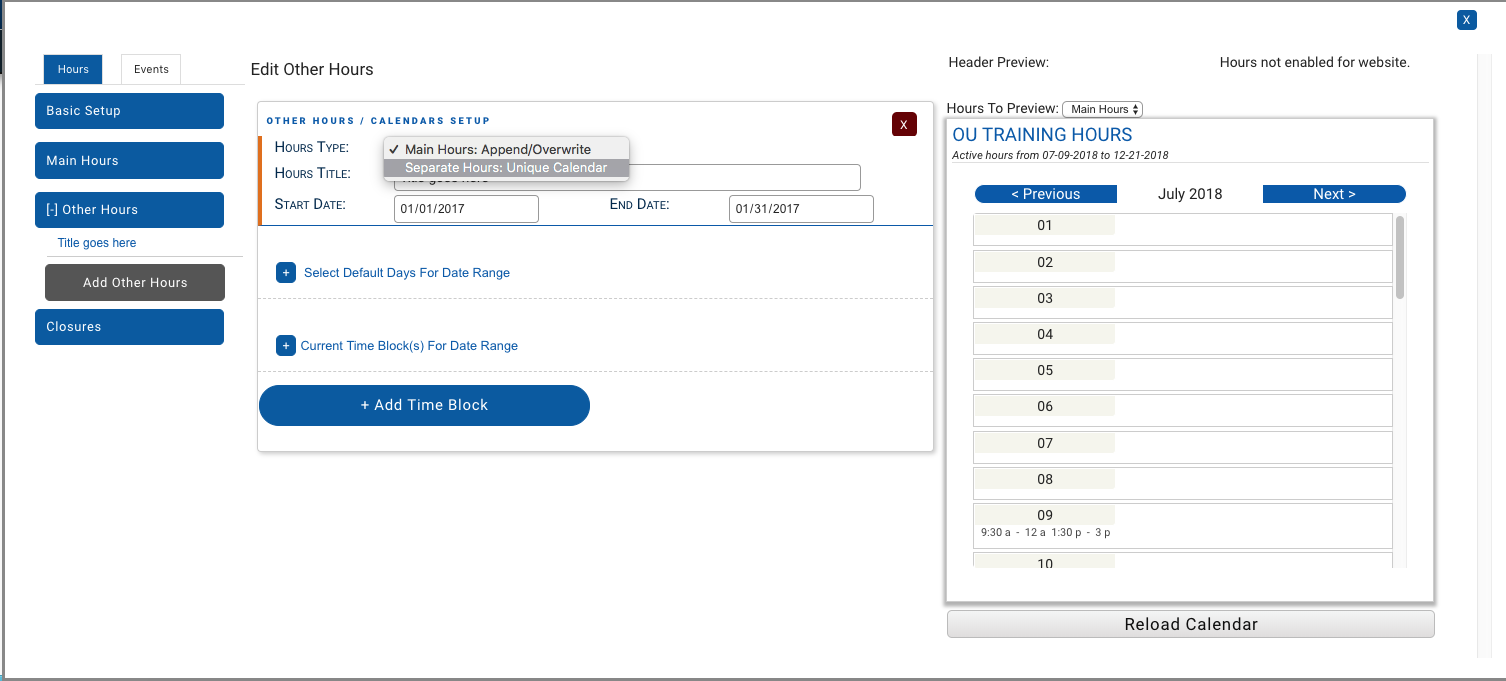
Other hours can be used if you have main office hours, but different hours for a center or lab, or if you will have alternate hours for a short time during the dates you already selected for your main hours. After clicking on "Title goes here" you will be prompted to select either to overwrite your main hours during a select date range, or to create another unique calendar.
Once you have added all of the hours you want to add, go to preview mode to set up your widget(s).
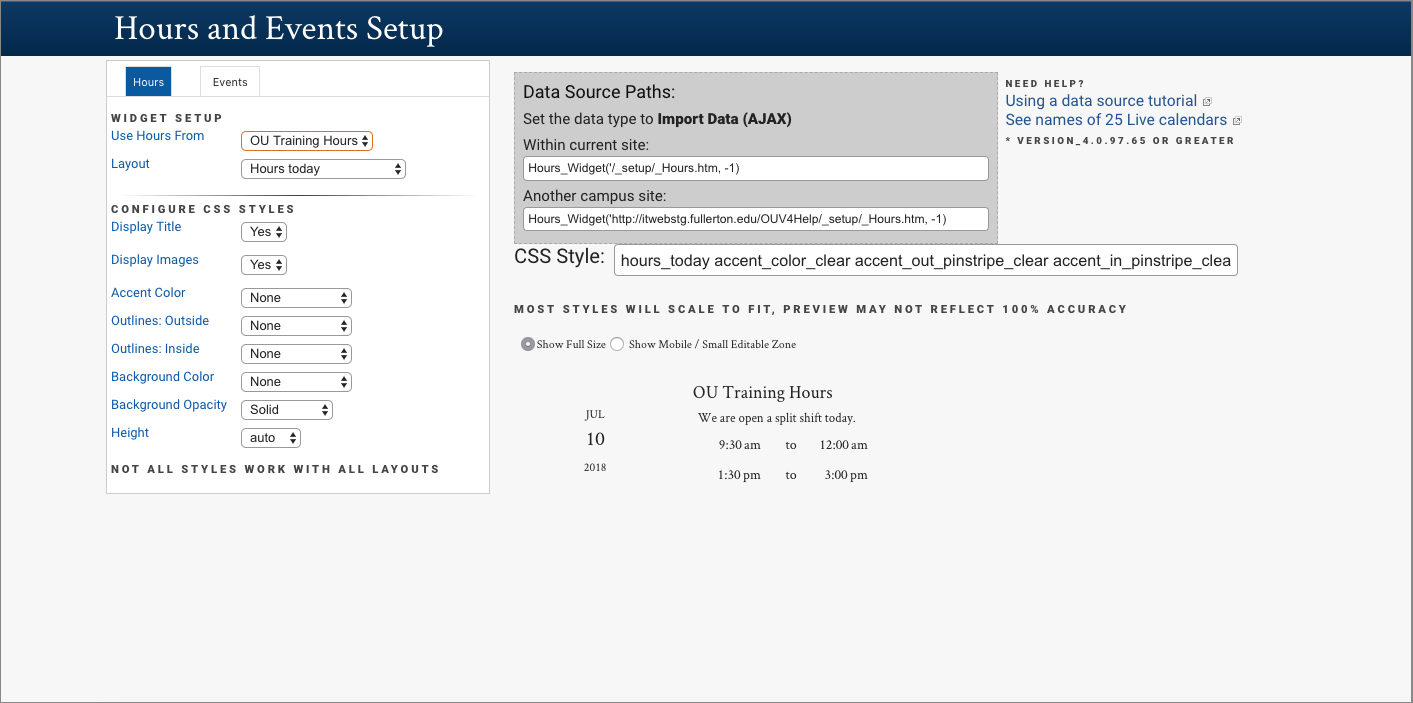
Example
Here is one hours widget with two different CSS styles in two different sections.